
First of all, Happy Earth Day! While planting our seeds today, I was telling my son a little bit about Earth Day. Upon quizing him, this is what my 4 year old said: Me, "What is Earth Day?" Him, "It's like the Earth's Birthday." Me, "Why do we recycle?" I was looking for "It helps the planet." and this is what I got instead. Him, ""Because trash piles up, and it makes the Earth mad. It hurts her heart, she gets sad." It's such a beautiful thing when kids say such profound things.
Starting your own garden is fun and rewarding for both you, your family, the Earth and your wallet. It teaches patients, hard work and dedication. By doing your own garden, this reduces you going to the store to buy veggies and fruits, which in turns helps cut out all the emmission caused by transporting foods that come from another state or country. The organic nature of your own garden is healthier, as you know personally what chemicals (if any) have been on or in the plants (When it gets closer, we'll do a organic pest control post). Plus, fresh off the vine food always taste better!!
To me, gardening is healing and spiritual. I love nature. Everytime I am in nature, I feel closer to God and the Earth. The earth is a living energy, putting your hands in the soil, tending to plants, there is a deep connection there. It's truly profound.

The rule of thumb in my area (Northern Nevada) is: "When there is no snow on Peavine, that's when you can plant outside." This picture was taken today. That is part of Peavine looming from my front porch. The rest is covered up by clouds from the snow storm. Needless to say it will be another month before we can go plant outside. We start our seeds inside.
Here's what you'll need:
- Empty egg crates (or a seed starter kit). **make sure there are holes in the bottom of EACH cup for irrigation.**
- Soil (I chose organic seed starting soil, nice and rich!)
- Seeds
- Paper and Pen
- Water


 Make a grid on a piece of paper. Fill in the blanks as you go. This helps tell you later what they are. This is important when planting them, as every plant is different, requiring difference spacial and sun treatments.
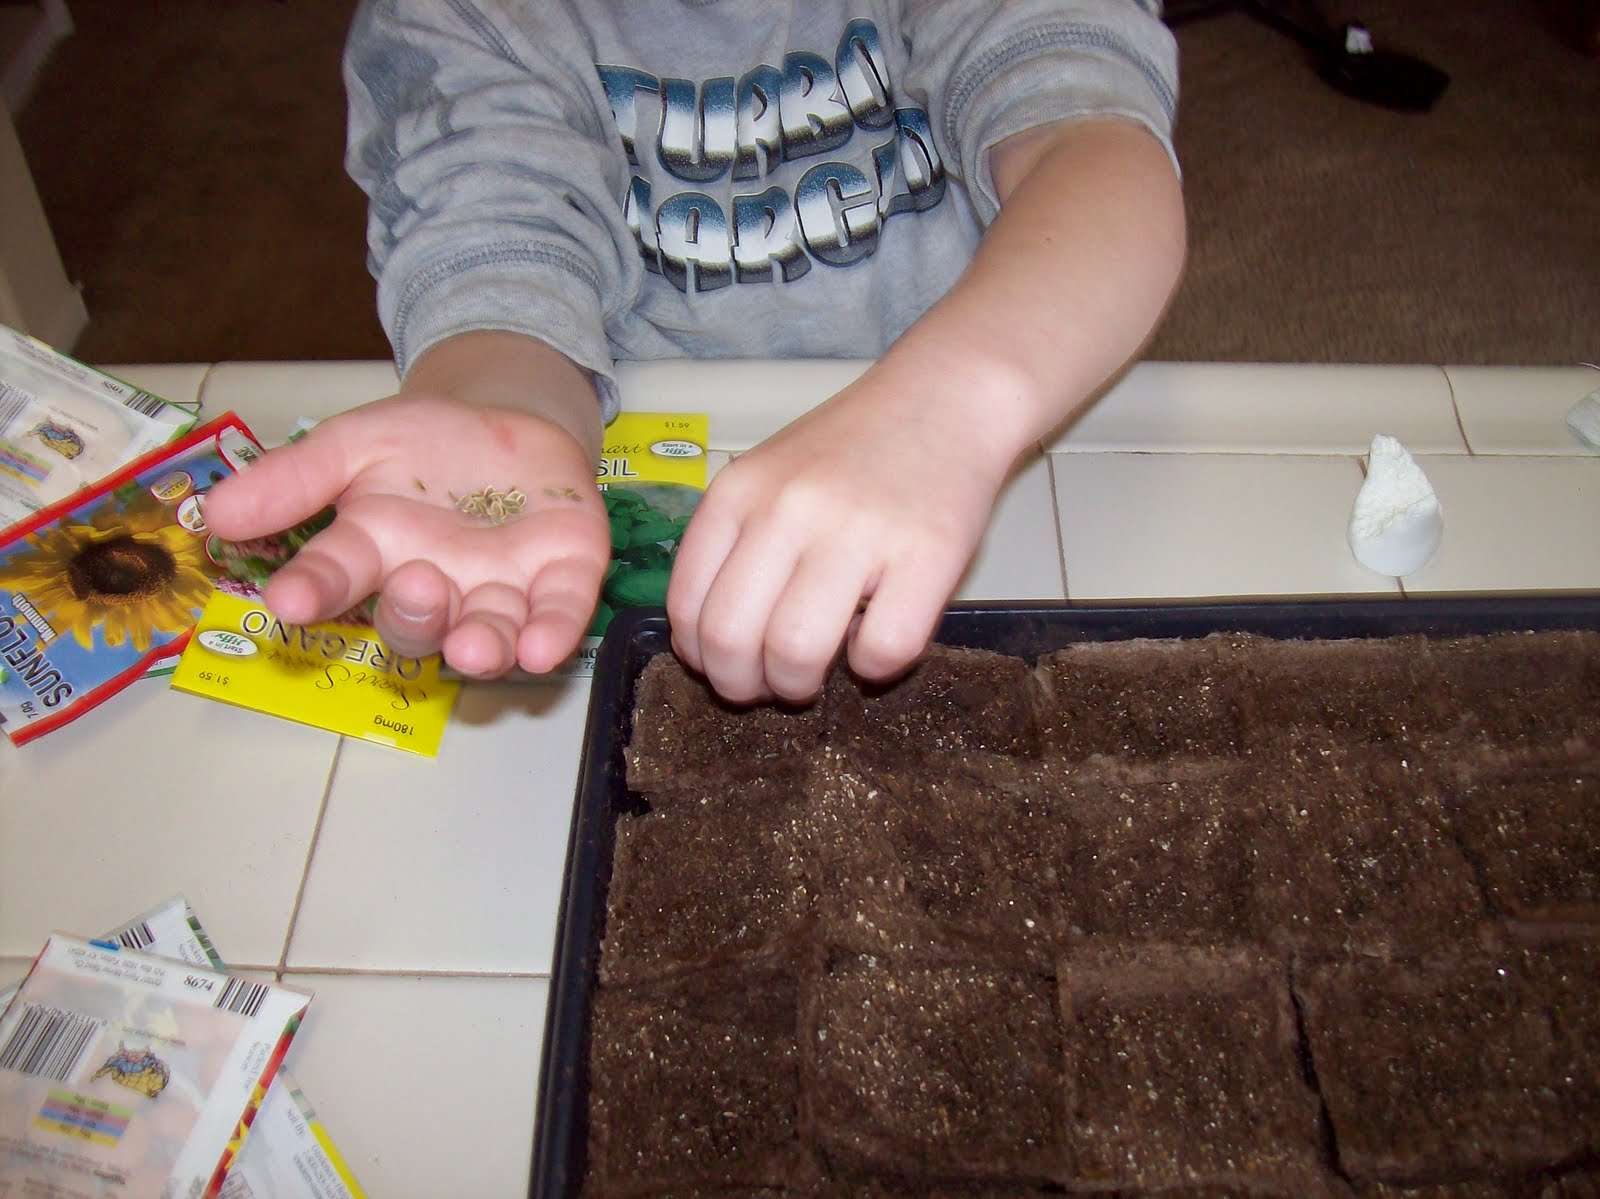
Next, poke holes with your finger. A good rule of "thumb" is to put your index finger into the soil to the first knuckle (about 1/4-1/2 inch).
Add seeds, the bigger the seed, the less seed you need. The smaller the seed, the more you put in to make sure you get at least one hearty plant. Make sure that if kids are helping you, that they are not mixing them together (an easy mistake). If you mix the two seeds, how will you know at pruning time which one to cut. (I always choose the blue wire. lol)
When thinking about your garden, double your batch. Say you want 3 Zucchini plants, you will do 6 seedling cups. Due to natural selection (among other things), it's a good chance not all the plants are going to make it. By doubling your batch, this give you a better chance of having the desired number of plants ready for planting.

Cover with another layer of dirt and water deeply again. Gently pack down lightly. Place seeds in a warm spot away from direct sunlight. Continue to water the seeds. Depending on what plants you planted, the seedlings will sprout within the next 3 weeks (for detailed info, look on the back of the seed packets).

Enjoy watching your little seedlings grow! We can't wait!!!
Have a wonderful, Earth Day!!!
Chelle }}i{{
No comments:
Post a Comment